Files
Note
This documentation is only relevant for customers with early access to Encord Files. Contact [email protected] to learn more and gain access.
Files is your one-stop shop for everything related to data in Encord - offering robust cloud storage capabilities along with intuitive options for managing, organizing, and integrating your data into Datasets.

Note
Data is structured into folders and subfolders. All files must be placed into folders and cannot be added to the top level / root directory.
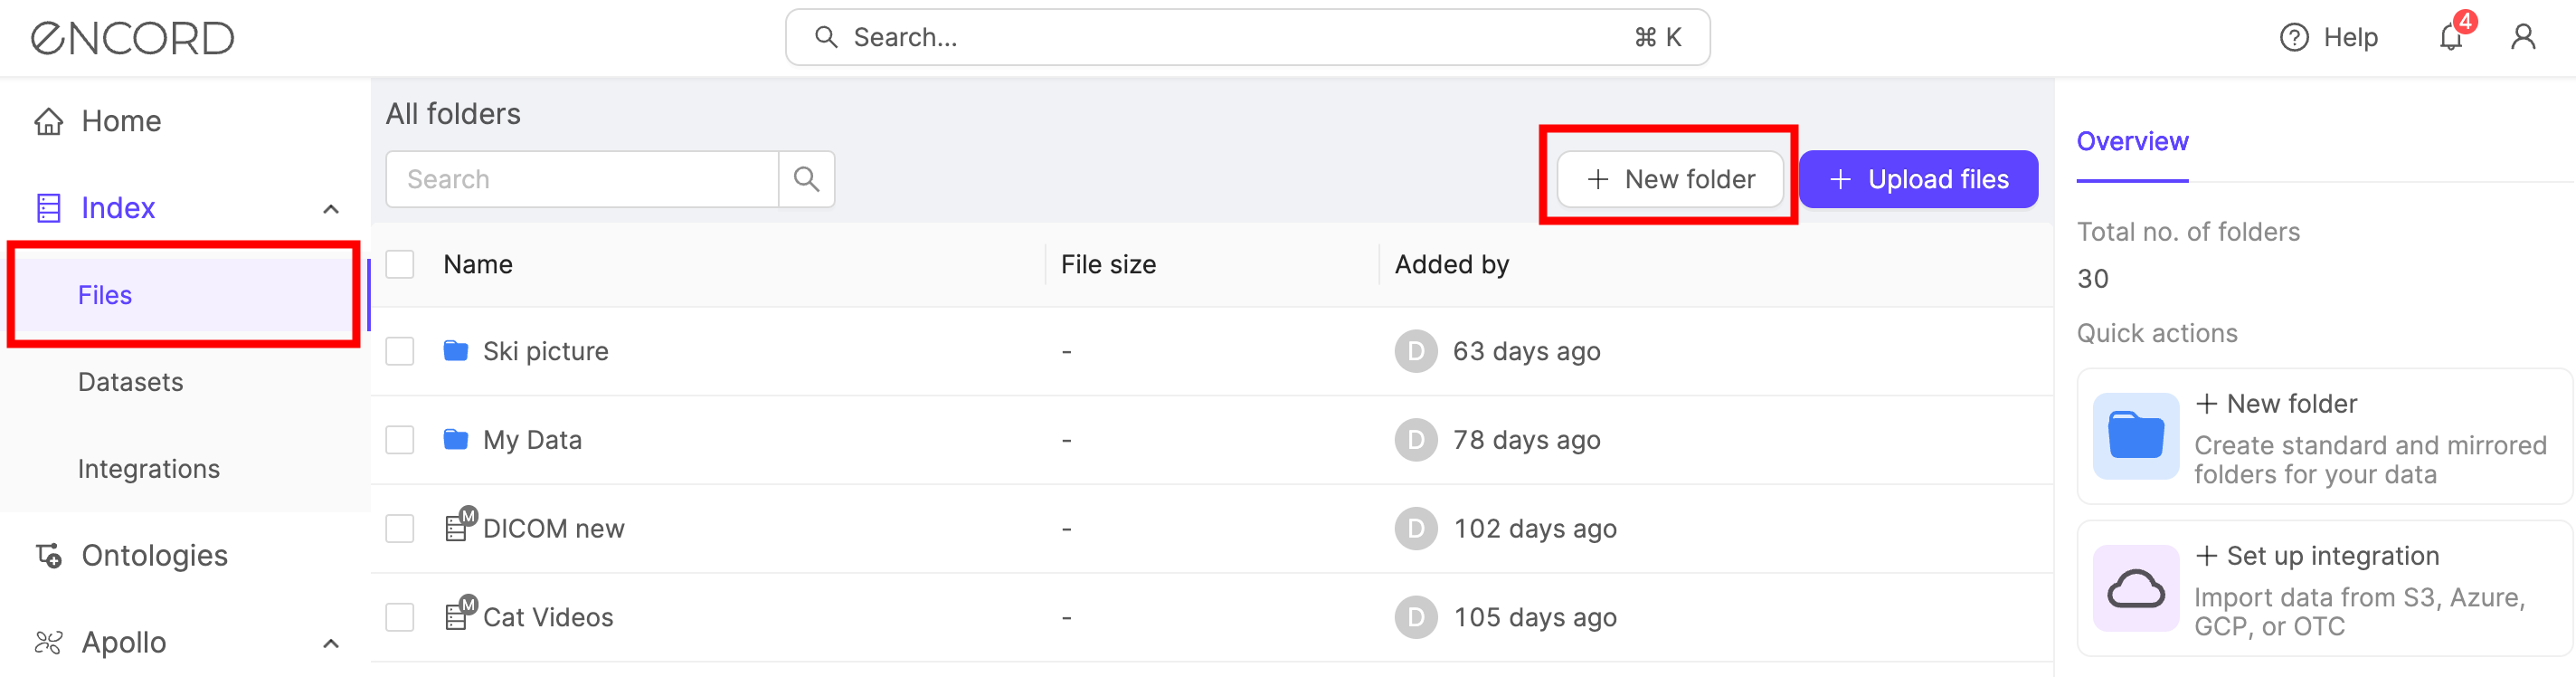
Create a folder
- Navigate to Files under the Index heading in the Encord platform.
- Click the + New folder button to create a new folder. A dialog to create a new folder appears.
-
Give the folder a meaningful name and description.
-
Click Create to create the folder.
The folder is listed in Files.
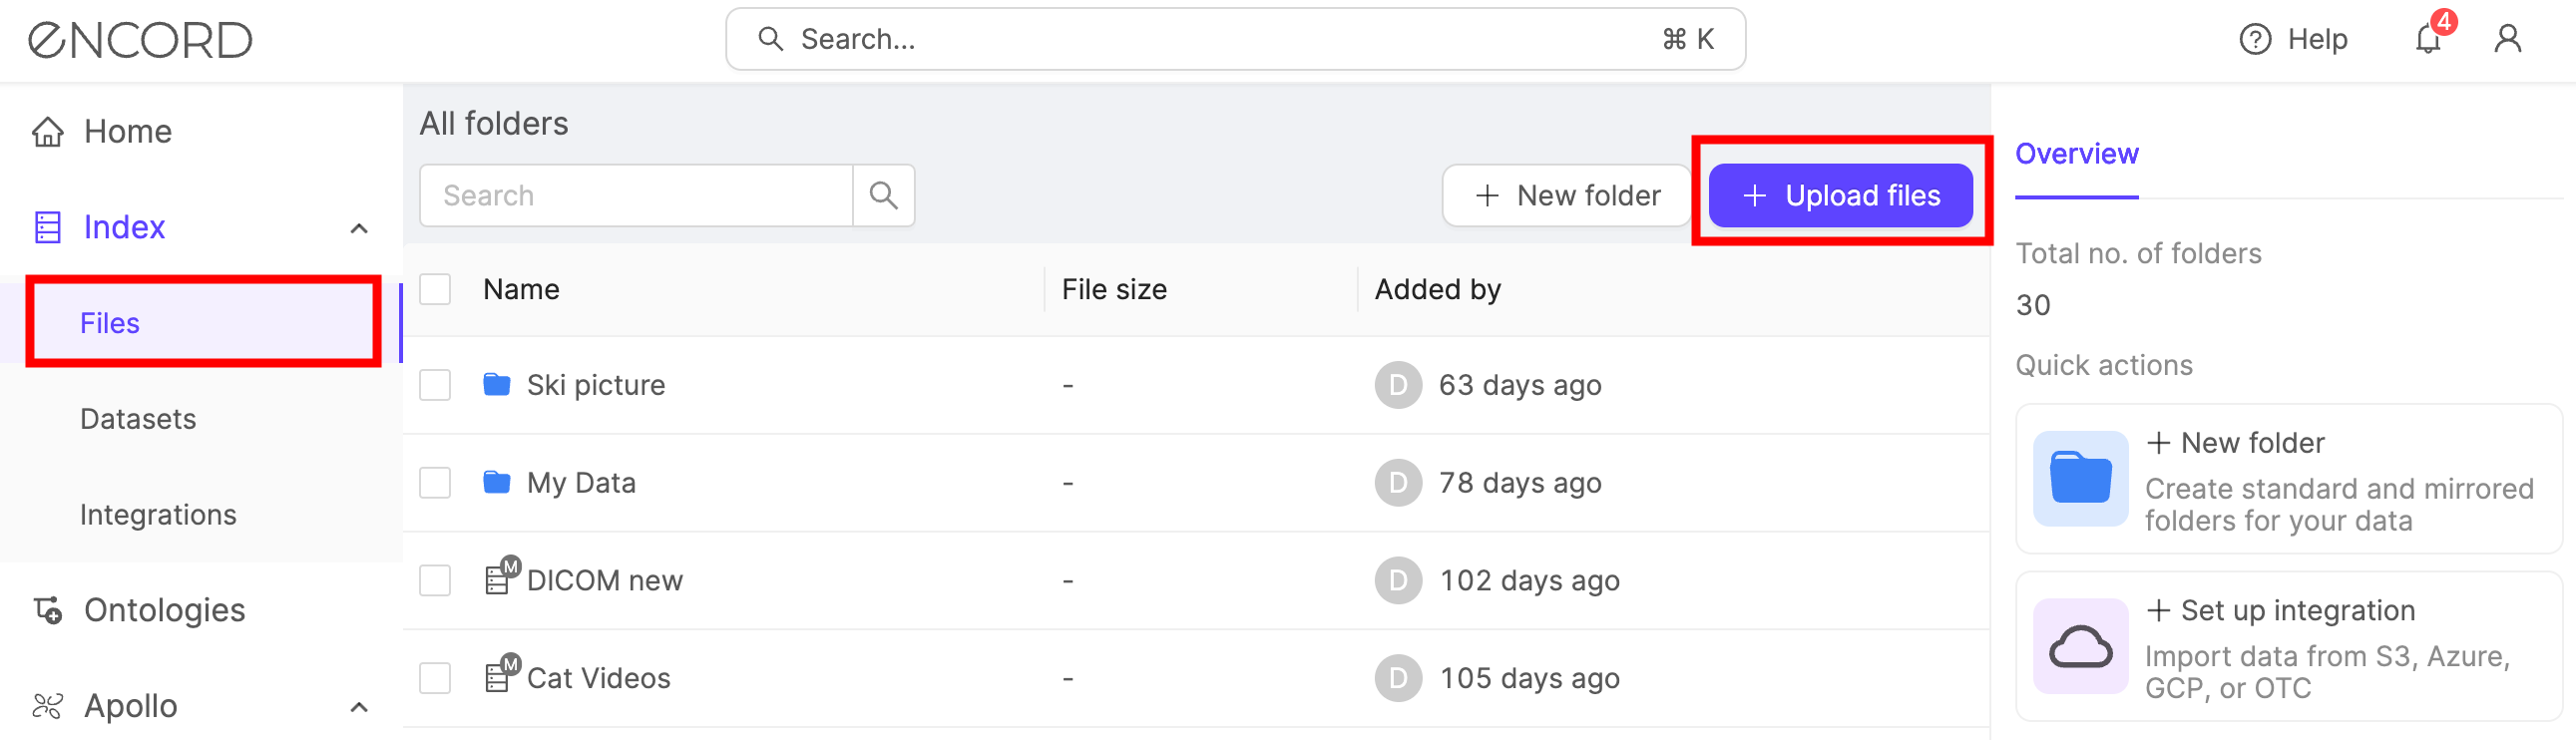
Add data to a folder
- Navigate to Files under the Index heading in the Encord platform.
- Click the +Upload files button
Tip
You can also right-click a folder to add data.
-
Select a folder to upload your files to. You can click +New folder to create a new folder.
-
Select the type of data you want to add:
- A - Upload: Drag and drop local images and / or videos. Click Upload to finish.
- B - Batch images as: Create an image group or image sequence from local images. See the section on creating image groups and image sequences for more information. Click Upload and batch images to finish.
- C - DICOM: Create a DICOM series from local DICOM files. Click Upload to finish.
Note
Encord requires the following tags on DICOM images to import the images:
- Rows
- Columns
- StudyInstanceUID
- SeriesInstanceUID
- SOPInstanceUID
- PatientID
The following DICOM tags are required to render DICOM images in 3D:
- ImagePositionPatient
- ImageOrientationPatient
- SliceThickness
- PixelSpacing
- D - Import from private cloud: Add any data stored in your cloud storage. At least one data integration is required to upload cloud data. Learn how to upload private cloud data here. Click Import to finish.

Create image groups and image sequences
Image groups and image sequences are created when adding data to a folder in Files.
- Open the Add data dialog.
- Select the Batch images as tab.
- Select Image group to create an image group. Select Image sequence to create an image sequence.

-
Drag-and-drop the local images you want to batch into an image group or image sequence. Learn how create image groups and image sequences from cloud data here.
-
Click Upload and batch images to create the image group or image sequence.
-
A file representing the image group or image sequence is created in the folder. A new folder appears containing all the constituent images of the image group or image sequence that was created.

Note
- The new folder containing the constituent images is not synced.
- Adding new images to this folder does not add them to the image group or image sequence.
- Files contained in the image group or image sequence cannot be deleted from the folder until the image group or image sequence is deleted.
Upload cloud data
Tip
We recommend uploading files in batches not exceeding 2GB, to ensure upload does not exceed 3 hours.
To add data from your private cloud you need the following:
-
A JSON or CSV file specifying the data you want to add from your private cloud.
See our documentation on data integrations, and adding cloud data for comprehensive guides.
Add data to Datasets
After data is uploaded to Files it can be added to one or multiple Datasets.
- Locate and select the data you want to add to a Dataset.
Tip
To add multiple files to a Dataset, bulk-select files by selecting the first file, and then selecting the last file while holding the Shift key on your keyboard.
- Right-click your selection and select Add to dataset.
A dialog appears.

- You have the option to:
- Add data to an existing Dataset by clicking Add next to the Dataset's name. You add data to multiple Datasets.

- Create a new Dataset to add your data to. Select the +New dataset tab and give the Dataset a meaningful name and description. Enable the toggle to sync the new Dataset with the storage folder. Click Add to new dataset to add the files to the new Dataset.

View, search, and manage your data
Files allows you to search for data units, and view which Datasets each data unit is belongs to.
The global search bar searches all data in Files, irrespective of which folder is currently open.

Click a data unit to see file specific details. Navigate to the Linked to tab to see which Datasets this file is added to. Click the ![]() icon next to the Dataset to:
icon next to the Dataset to:
- View the Dataset.
- Remove the selected file from Datasets.

Delete and move data and folders
Right-click a file, folder, or a selection of multiple files to see the options available to you.

- To delete files and folders, right-click the selection and select Delete.
Caution
Deleting a file removes it from all Datasets it was added to.
- To move files and folders to a different folder, right-click the selection and select Move to another folder. A dialog appears. Start typing the name of the folder, select the folder you want to move the selection to, and click Move to confirm.
Caution
Moving a file out of a synced folder removes it from the corresponding synced Dataset.

Folder permissions and activity
Folder details are automatically displayed whenever a folder is:
- Selected
- Open and no data unit is selected

Manage folder collaborators
Click Manage access to manage which users within your Organization can access the folder. A dialog appears with the the Invite tab open by default.

Select the role you want the users to have, and then start typing their email address into the search bar. Select the user(s) you want to give access to the folder and click Add to confirm your selection.

To delete a user from a folder, navigate to the Manage tab and click the ![]() button.
button.
Change a user's access permissions by selecting a new role from the dropdown.
Note
Users with Admin permissions cannot be deleted, and their role cannot be changed.
Mirrored Datasets
Mirrored Datasets provide a continuity solution that retains the organization of data prior to the release of Index. With the transition to Index, all existing data within Datasets has been transferred to Files in the form of Mirrored Datasets. Mirrored Datasets can be managed using both the Files and Datasets sections of the Encord platform.
For example, moving a file named "chicken.mp4" from a mirrored Dataset titled "Animal videos" to another mirrored Dataset called "Chicken videos", results in "chicken.mp4" being visible in all Projects associated with "Chicken videos".
Updated 2 days ago