Getting started with Encord Annotate
You need a Project to start labeling your data. Setting up a project follows an 4-step process - each step will be discussed in this document.
- Dataset: Create a dataset that you want to annotate.
- Ontology: Create an ontology (taxonomy, label protocol). The ontology contains the information and structure about the annotation task.
- Annotation Project: Create a project and attach the dataset and ontology.
- Team Management: Add team members to the project (annotators, reviewers, administrators) and define roles and responsibilities.
1. Create a Dataset
The first step to creating a project is creating a dataset using either local, or cloud data. Please see our documentation here to learn how to do this.
2. Ontology
The second step is creating an Ontology. The ontology contains the information and structure about the annotation task. Our Ontology documentation offers a detailed overview.
Ontologies (label structures) are hierarchical structures which capture concepts and categories present in your data, and allow for attributes for fine-grained differentiation or detailed annotations.
- Objects are used in object detection and segmentation, when you want to annotate not only the category but also the location.
- Classifications (sometimes known as frame level classifications on Encord) annotate whether something is present in a given frame, but don't require localization data.
- Attributes can be nested within objects, classifications, and even other attributes to create deeply nested structures capable of modeling complex and even conditional attribute relationships.
Start creating the Ontology
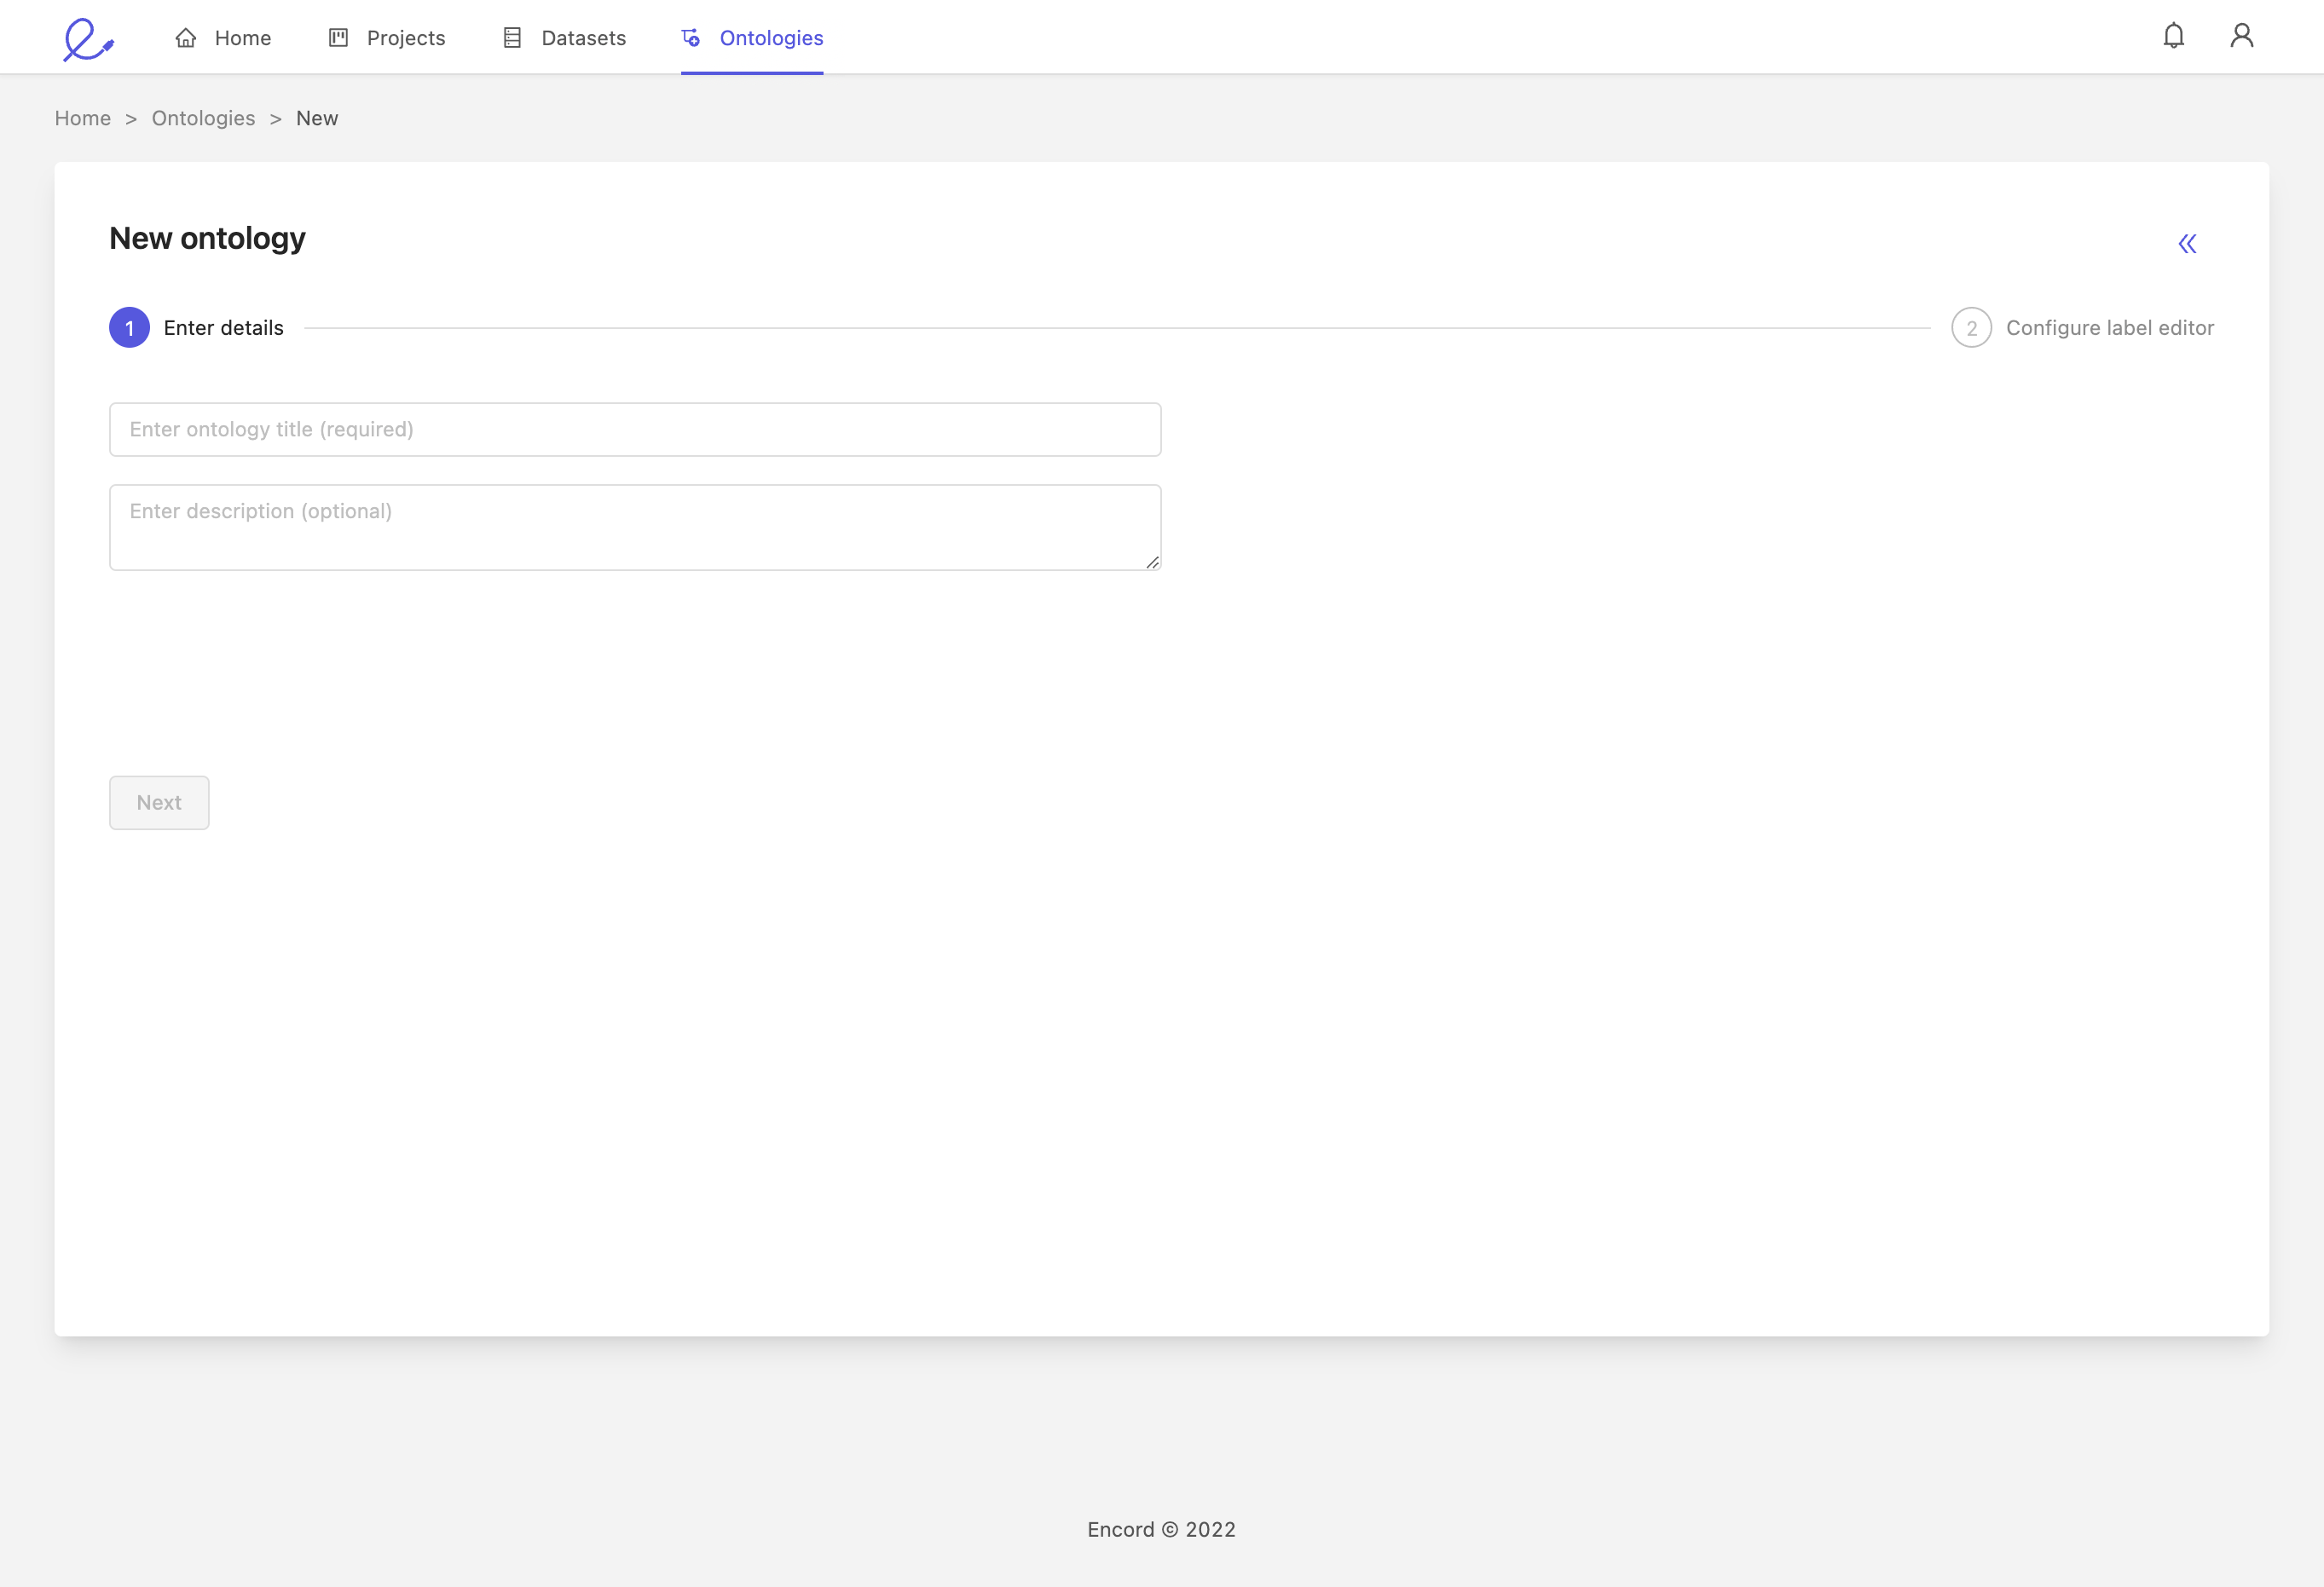
The Ontology creation flow starts with the 'Enter details' screen, where you enter the title and description. Descriptions are optional, but clear descriptions can help you and your team stay organized. There is no need to be perfect, you can always edit the title and description after creation as well. Press Next to move on once you're satisfied.
The 'Configure the editor' screen is where you initialize your ontology's structure. Use the + buttons under the Objects and Classifications section to add them to the structure. You can use attributes to create expressive, hierarchically descriptive structures and attach classification modifiers to aid in the annotation process or dynamically annotate data, as necessary. Reference the structure. Use the '+' section of the documentation below for full details on the significance and configuration details of each component.

As you are editing the structure, the 'Sandbox' view will offer a preview of how the ontology will appear to your annotators in the Label Editor. You can expand and contract individual elements by clicking on them to confirm the tree
structure of the Ontology. You can also view the ontology's JSON representation by toggling the ‘Display json’ toggle on the upper right. This may be useful if you are using Encord's SDK or API.

Ontology JSON Preview
{
  "objects": [
    {
      "id": "1",
      "name": "Apple",
      "color": "#D33115",
      "shape": "bounding_box",
      "featureNodeHash": "dfa43291",
      "attributes": [
        {
          "id": "1.1",
          "name": "Color",
          "type": "radio",
          "required": false,
          "featureNodeHash": "3a2d7e3e",
          "options": [
            {
              "id": "1.1.1",
              "label": "Red",
              "value": "red",
              "featureNodeHash": "d262efe3"
            },
            {
              "id": "1.1.2",
              "label": "Green",
              "value": "green",
              "featureNodeHash": "05e37fad"
            }
          ]
        }
      ]
    }
  ],
  "classifications": [
    {
      "id": "1",
      "featureNodeHash": "621710a2",
      "attributes": [
        {
          "id": "1.1",
          "name": "Orientation",
          "type": "radio",
          "required": false,
          "featureNodeHash": "2313aee5",
          "options": [
            {
              "id": "1.1.1",
              "label": "Top view",
              "value": "top_view",
              "featureNodeHash": "cc336600"
            },
            {
              "id": "1.1.2",
              "label": "Side view",
              "value": "side_view",
              "featureNodeHash": "02d60e6f"
            }
          ]
        }
      ]
    }
  ]
}
Edit Ontologies
You can continue to edit and update the ontology after you've created it. Please refer to corresponding section in our documentation Editing Ontologies.
3. Annotation Project
To create a new project, click the + New project button on the 'Projects overview' screen. This initiates the project creation flow, a simple step-by-step process for creating new projects.
Enter details
In the 'Enter details' screen, enter a project title and optional description. A clear title and description helps keep your projects organized and helps collaborators find what they are looking for.
If you are part of an organization, you will see an optional project tags drop-down. Project tags are useful for categorizing your projects. Select as many tags as are relevant to your project.
If you would like to enable multiple label reviews at a time, press the 'Display multiple reviews' toggle switch.
When you are happy, click Next.
Select Datasets
The 'Select datasets' screen is where you attach datasets to your project. You can select from a list of datasets you have already created, or you can create a new dataset by clicking + New dataset which initiates the dataset creation flow. Identify the datasets you want to incorporate and click the Add button to attach them. Attached datasets will appear in a list on the right.
Select Ontology
The 'Select ontology' screen is where you specify your label structure (also called an ontology). Encord offers support for objects and frame level classifications, all with nested attributes.
You can reuse a pre-existing ontology, or create a new one by clicking + New ontology which initiates the ontology creation flow. Choose the ontology you want to use and click Select to use it with the project. You can see the preview of the label editor sandbox on the right.
Create the Project
Once you are happy with your label structure, click Create project to complete the process.
4. Team Management
The Encord platform has a variety user types with different access to the platform and its features. Depending on the type of user access (annotator, reviewer, admin), the person needs to be added to different parts of the platform. We will discuss this in detail below.
The Organization documentation offers a detailed overview.
Click here to view project user roles
- Annotator: Creates labels/annotations
- Reviewer: Reviews annotations
- Annotator & Reviewer: Has access to both annotator and reviewer features
- Team manager: Access to certain team management features
- Admin: Full access to all project interfaces and features, usually used by those who set up the ontology, datasets and assign various team members. In order to successfully attach ontologies and datasets to a given project, a user must have Admin permissions against each target resource.
| Permission | Admin | Team manager | Reviewer | Labeler | Labeler + Reviewer |
|---|---|---|---|---|---|
| Import data/create new datasets | X | ||||
| Attach a dataset to a project | X | ||||
| Detach a dataset from a project | X | ||||
| Create/modify ontologies | X | ||||
| Add/edit/delete projects | X | ||||
| Add/modify member rights on a project | X | X | |||
| Create/modify labels, access labeling queue | X | X | X | X (own only) | X |
| Review labels, access labeling queue | X | X | X (own only) | X | |
| Delete labels, access review queue | X | X | X | X | |
| View own & team's performance metrics | X | X | X (own only) | X (own only) | X (own only) |
| Import and export of data | X | ||||
| Access SDK/API | X |
Add users to your Project
You are able to add different user groups to a Project depending on your status:
- Admins: can add admins, annotators, reviewers, annotator + reviewers and team members directly to a project.
- Team managers: can add annotators, reviewers, annotator + reviewers directly to a project.
- Annotator, reviewers and annotator + reviewers: cannot add anyone to a project.
You can add new users by going to the Projects tab, then to Settings and then Team. Click on invite collaborators and add the email address. Then define their role.
How to add Admins
In this walkthrough we've discussed the permissions of Admins in relation to Projects, but also mentioned that users need to be assigned a role in relation to the various resources on the platform. Because the resources on the platform can be linked to each other in a many-many-many fashion (.e.g a specific ontology can be assigned to multiple projects), we've provided this fine-grained access control functionality to ensure there are no accidental or unintended changes to your various ontologies, datasets and projects.
Only admins of a specific resource can add other admin users to that resource -- except for Organizational level admins -- who can add themselves as an Admin to any resource owned by your organization. Once someone is an Admin for a given resource, they can not be removed. If you must remove an admin, reach out to [email protected].
Updated about 1 month ago